
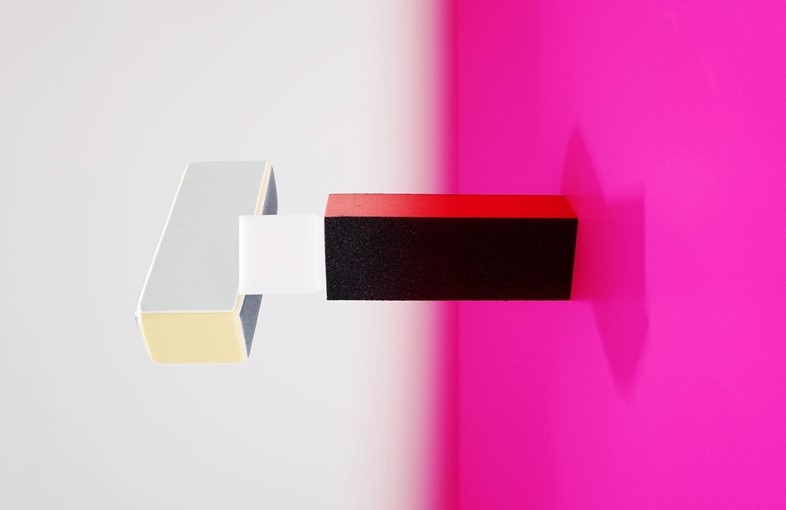
A ten-point masterclass for those who favour nail care over nail art
As media (social and otherwise) has thoroughly informed us of late, the advent of a new year is the opportunity to embrace a new you. In 2016, you can be the sort of person who embraces a ten-point guide to a manicure and so, courtesy of the images of Agnes Lloyd-Platt, combined with the stylings of Victoria Spicer, we present to you our very own version of a DIY minimalist nailcare guide: the modern alternative to the overwrought experimentations of the glossies and their insatiable adulation of nail art. "It's not lazy to do nothing, not if it's considered," proclaimed nailcare doyenne Marian Newman on the digital codes of S/S16 (she was responsible for the perspex-inspired fingertips at the likes of Simone Rocha among myriad others). So, with that in mind, here goes...

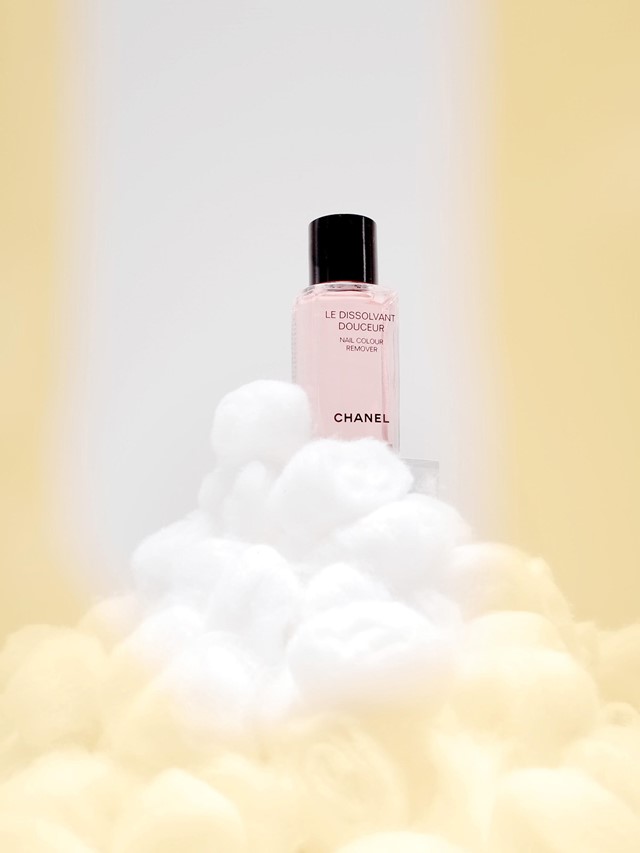
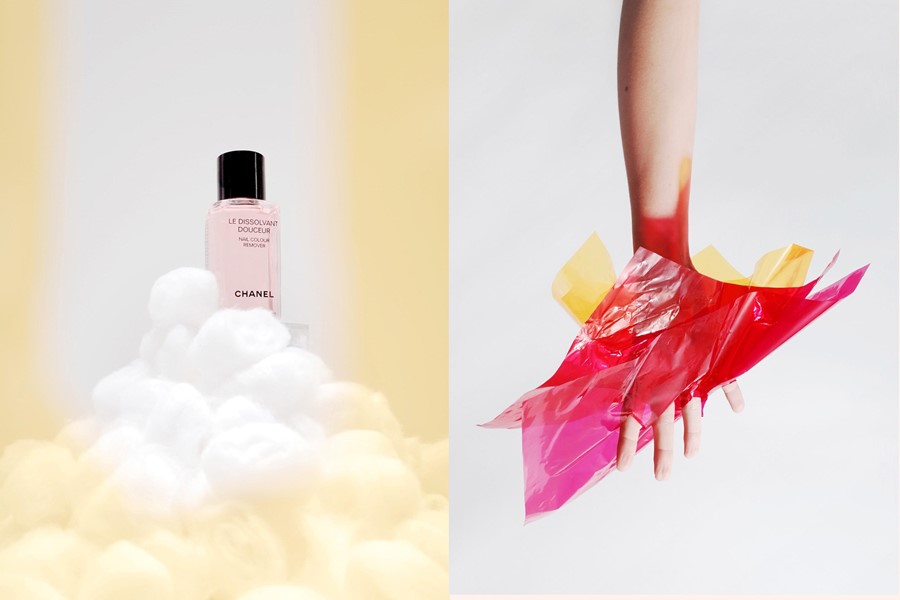
1. Clean nails thoroughly...
Whether you are using a product to remove lacquer or simply to clean fingertips of the oils that can accumulate, it is important to ensure that you aren't subjecting yourself to the noxious fumes typically associated with nailcare. Sweeping a cotton wool ball doused in Chanel's Dissolvant Doux over the top of your nail is not only a visibly cleansing experience, but it also smells wonderfully powdery and looks simply brilliant set atop a beauty cabinet. If you are choosing an alternative brand, don't fuss about going acetone-free (unless you wear falsies) – it might exist under the illusion of being better for you, but frankly it simply means you need to scrub harder.

2. ... and then, your hands
However delightfully scented your Dissolvant Doux may be, washing your hands of any residual product is, of course, key. We wholeheartedly recommend Aesop's Resurrection Aromatique: a combination of mandarin orange with cedarwood and lavender that serves as the perfect starting point for the rest of your regimen. Massage into a lather, inhale and rinse.

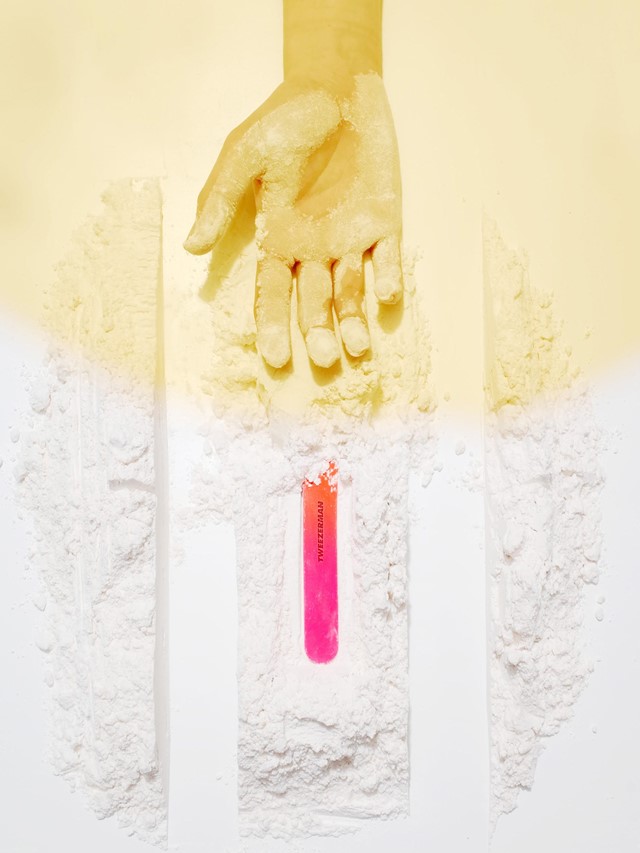
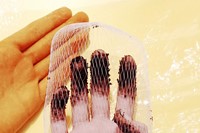
3. File into the desired shape
File your nails in one direction with long, light strokes to avoid heating the nail and splitting it, and then finish up by adjusting the sides to your desired shape. There are four key silhouettes you can pick for a nail: almond, square, oval, or the delightful portmanteau of 'squoval' (square, with oval sides). One can travel down the pointed stiletto path favoured by the likes of Rihanna and Elvira, but we advise against; it renders opening a Diet Coke rather treacherous. Investing in a quality nail file (we recommend Tweezerman) is key to this process – the cheap ones are a false economy, as they wear rapidly and are often too gritty for a smooth finish, meaning that your nails might catch and ladder your tights.

4. Lightly buff to a shine
Buffing is a step often forgotten in a DIY manicure – but is, in fact, key to proper nailcare. Not only does it eradicate ridges and result in a glossy shine, but it also stimulates bloodflow to the nailbed which, in turn, encourages growth. Starting with the roughest side of a buffing block, apply gentle strokes in an X formation, lifting the block between each movement to avoid over-zealously applying pressure that could thin the nail. Pick a buffing block with three different gradations of grit (see Sally Hansen's Professional Smoothing Block), ending with the finest for a perfectly sheened finish.

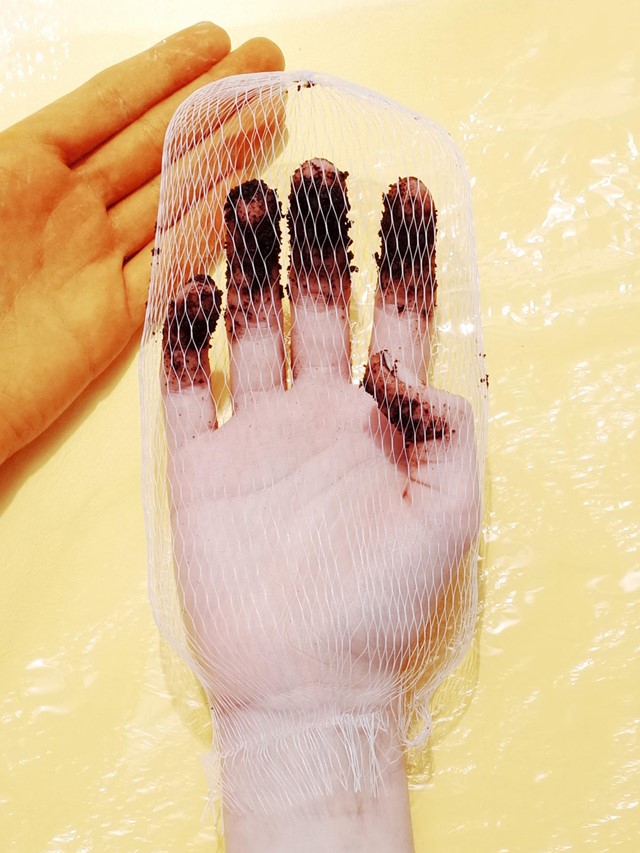
5. Exfoliate your hands
Now is the moment that you can exfoliate an oft-forgotten part of your body: your hands. Brushing away dead skin cells reveals fresh new skin underneath and helps not only to keep them youthful but, perhaps more importantly, baby soft. Use a gentle formulation – either go full DIY by mixing olive oil with granulated brown sugar, or we love the combination of pumice and bamboo stem found in Aesop's Geranium Leaf scrub (plus, it smells delicious).

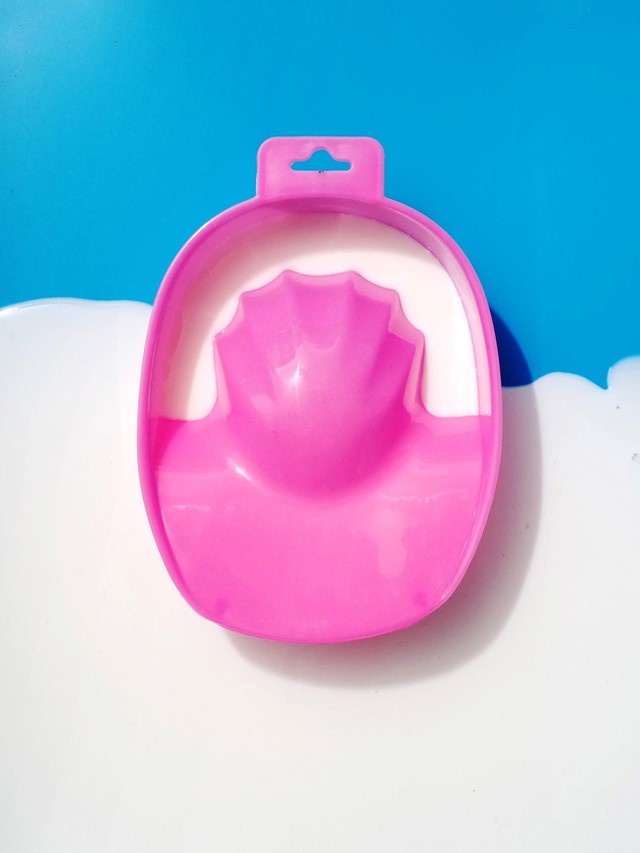
6. Soak nails
Next, submerge nails into a bath of water – we suggest adding a little bath oil or moisturising cream for a luxuriant experience, and you can't get better than Bamford or Susanne Kaufmann. This will soften cuticles and prepare them for being eased backwards with an orange stick later...

7. Tend to your cuticles
Once sufficiently soaked, apply a cuticle cream to nourish and condition the delicate skin that surrounds your nail – Dior's Crème Abricot has been soothing and moisturising the fingertips of the world's most elegant women since 1963 (and ought be applied every evening for strong, supple nails). Massage in then, using a wooden cuticle ('orange') stick, gently – and we mean gently – push back the skin around your nail bed.

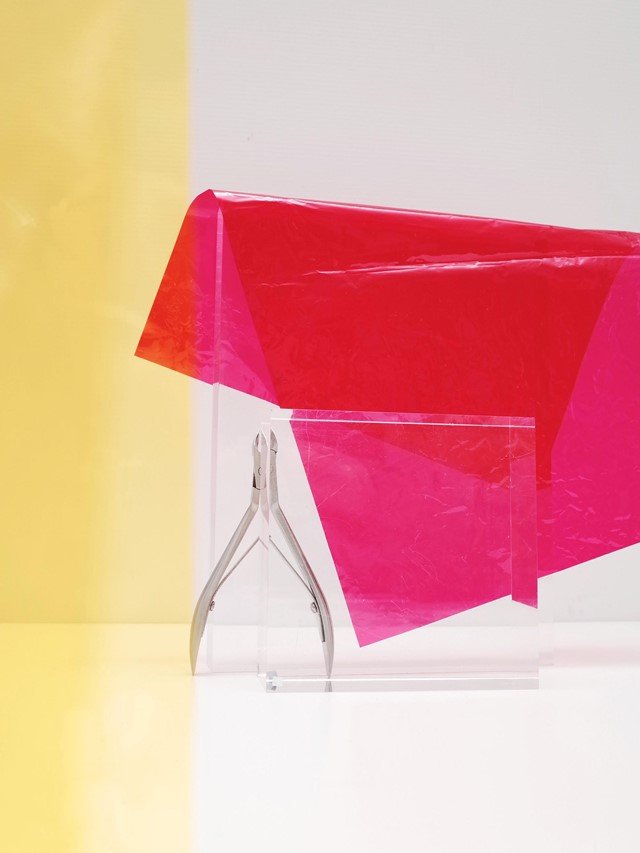
8. Trim any hangnails
There is nothing more unsightly (and painful) than a hangnail – and the only cure for them, besides liberal and regular application of cuticle cream, is carefully trimming them with sharp, disinfected tools. Tweezerman produce the best and, if they ever dull, they will sharpen them for you for free. Remember: contrary to common belief, trimming your cuticles is not going to do you any good; it just makes them grow back tougher and more miserable. Hangnails only.

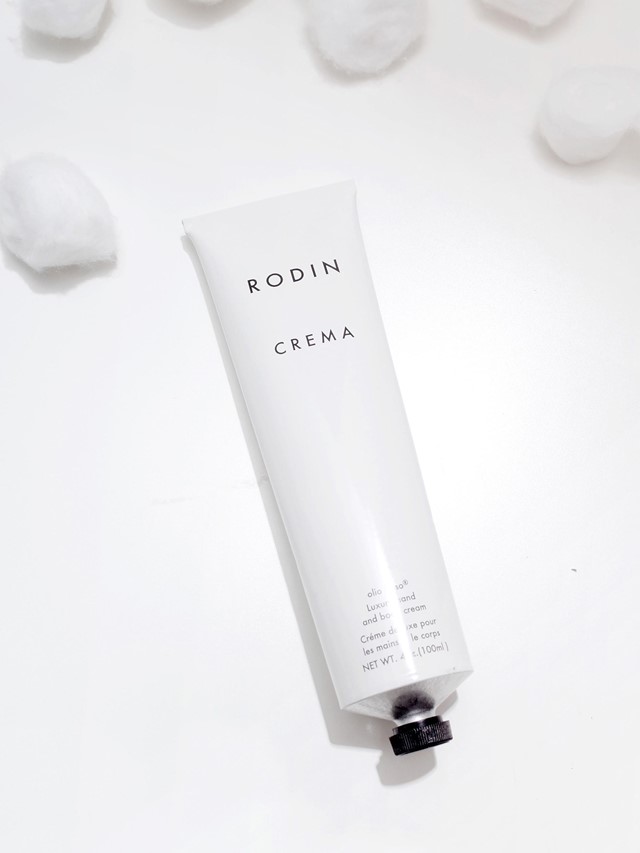
9. Moisturise everything
Particularly at this time of year, where the combination of cold outsides and artificially-heated thus dehydrated insides horribly chaps skin, moisturiser is key. Our office-wide favourite is Rodin's Crema: not only is the packaging perfectly modern, but it is the perfect consistency, leaves no residual oiliness and has the most bewitching jasmine scent. It's worth its price tag: keeping it deskside lures those who aren't responding to your emails towards you with impeccable precision.

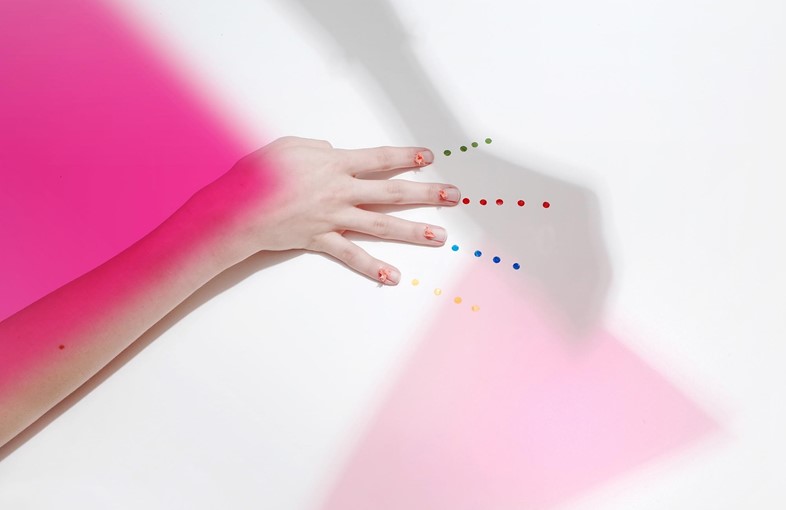
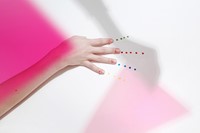
10. Admire
And then? There is nothing to do but admire your handiwork. See: when they look this good, you don't even need polish.


Credits
Photography Agnes Lloyd-Platt; Styling Victoria Spicer; Manicure Pebbles at Streeters; Model Amelia at Established; Production Beth Mingay